A couple of months ago, a friend gave me a sourdough starter (Thanks, Liz.). I’ve been trying out some new recipes with it and experimenting with those ever since. This is one I started last night (and let ferment overnight) and my daughter and I baked this morning. They weren’t quite what we wanted so we made some tweaks and had the new batch in the oven in about 1 hour 20 minutes. Hope you enjoy. Our neighbors are eating some of each one this morning/afternoon.
Dough
- 2-1/4 tsp active dry yeast and 1/4 cup warm water (100-110 degrees F)
- 1/2 cup cold butter, cut into small chunks
- 3-1/4 cups all-purpose flour
- 1/2 cup sourdough starter
- 1 T sugar
- 1 cup milk
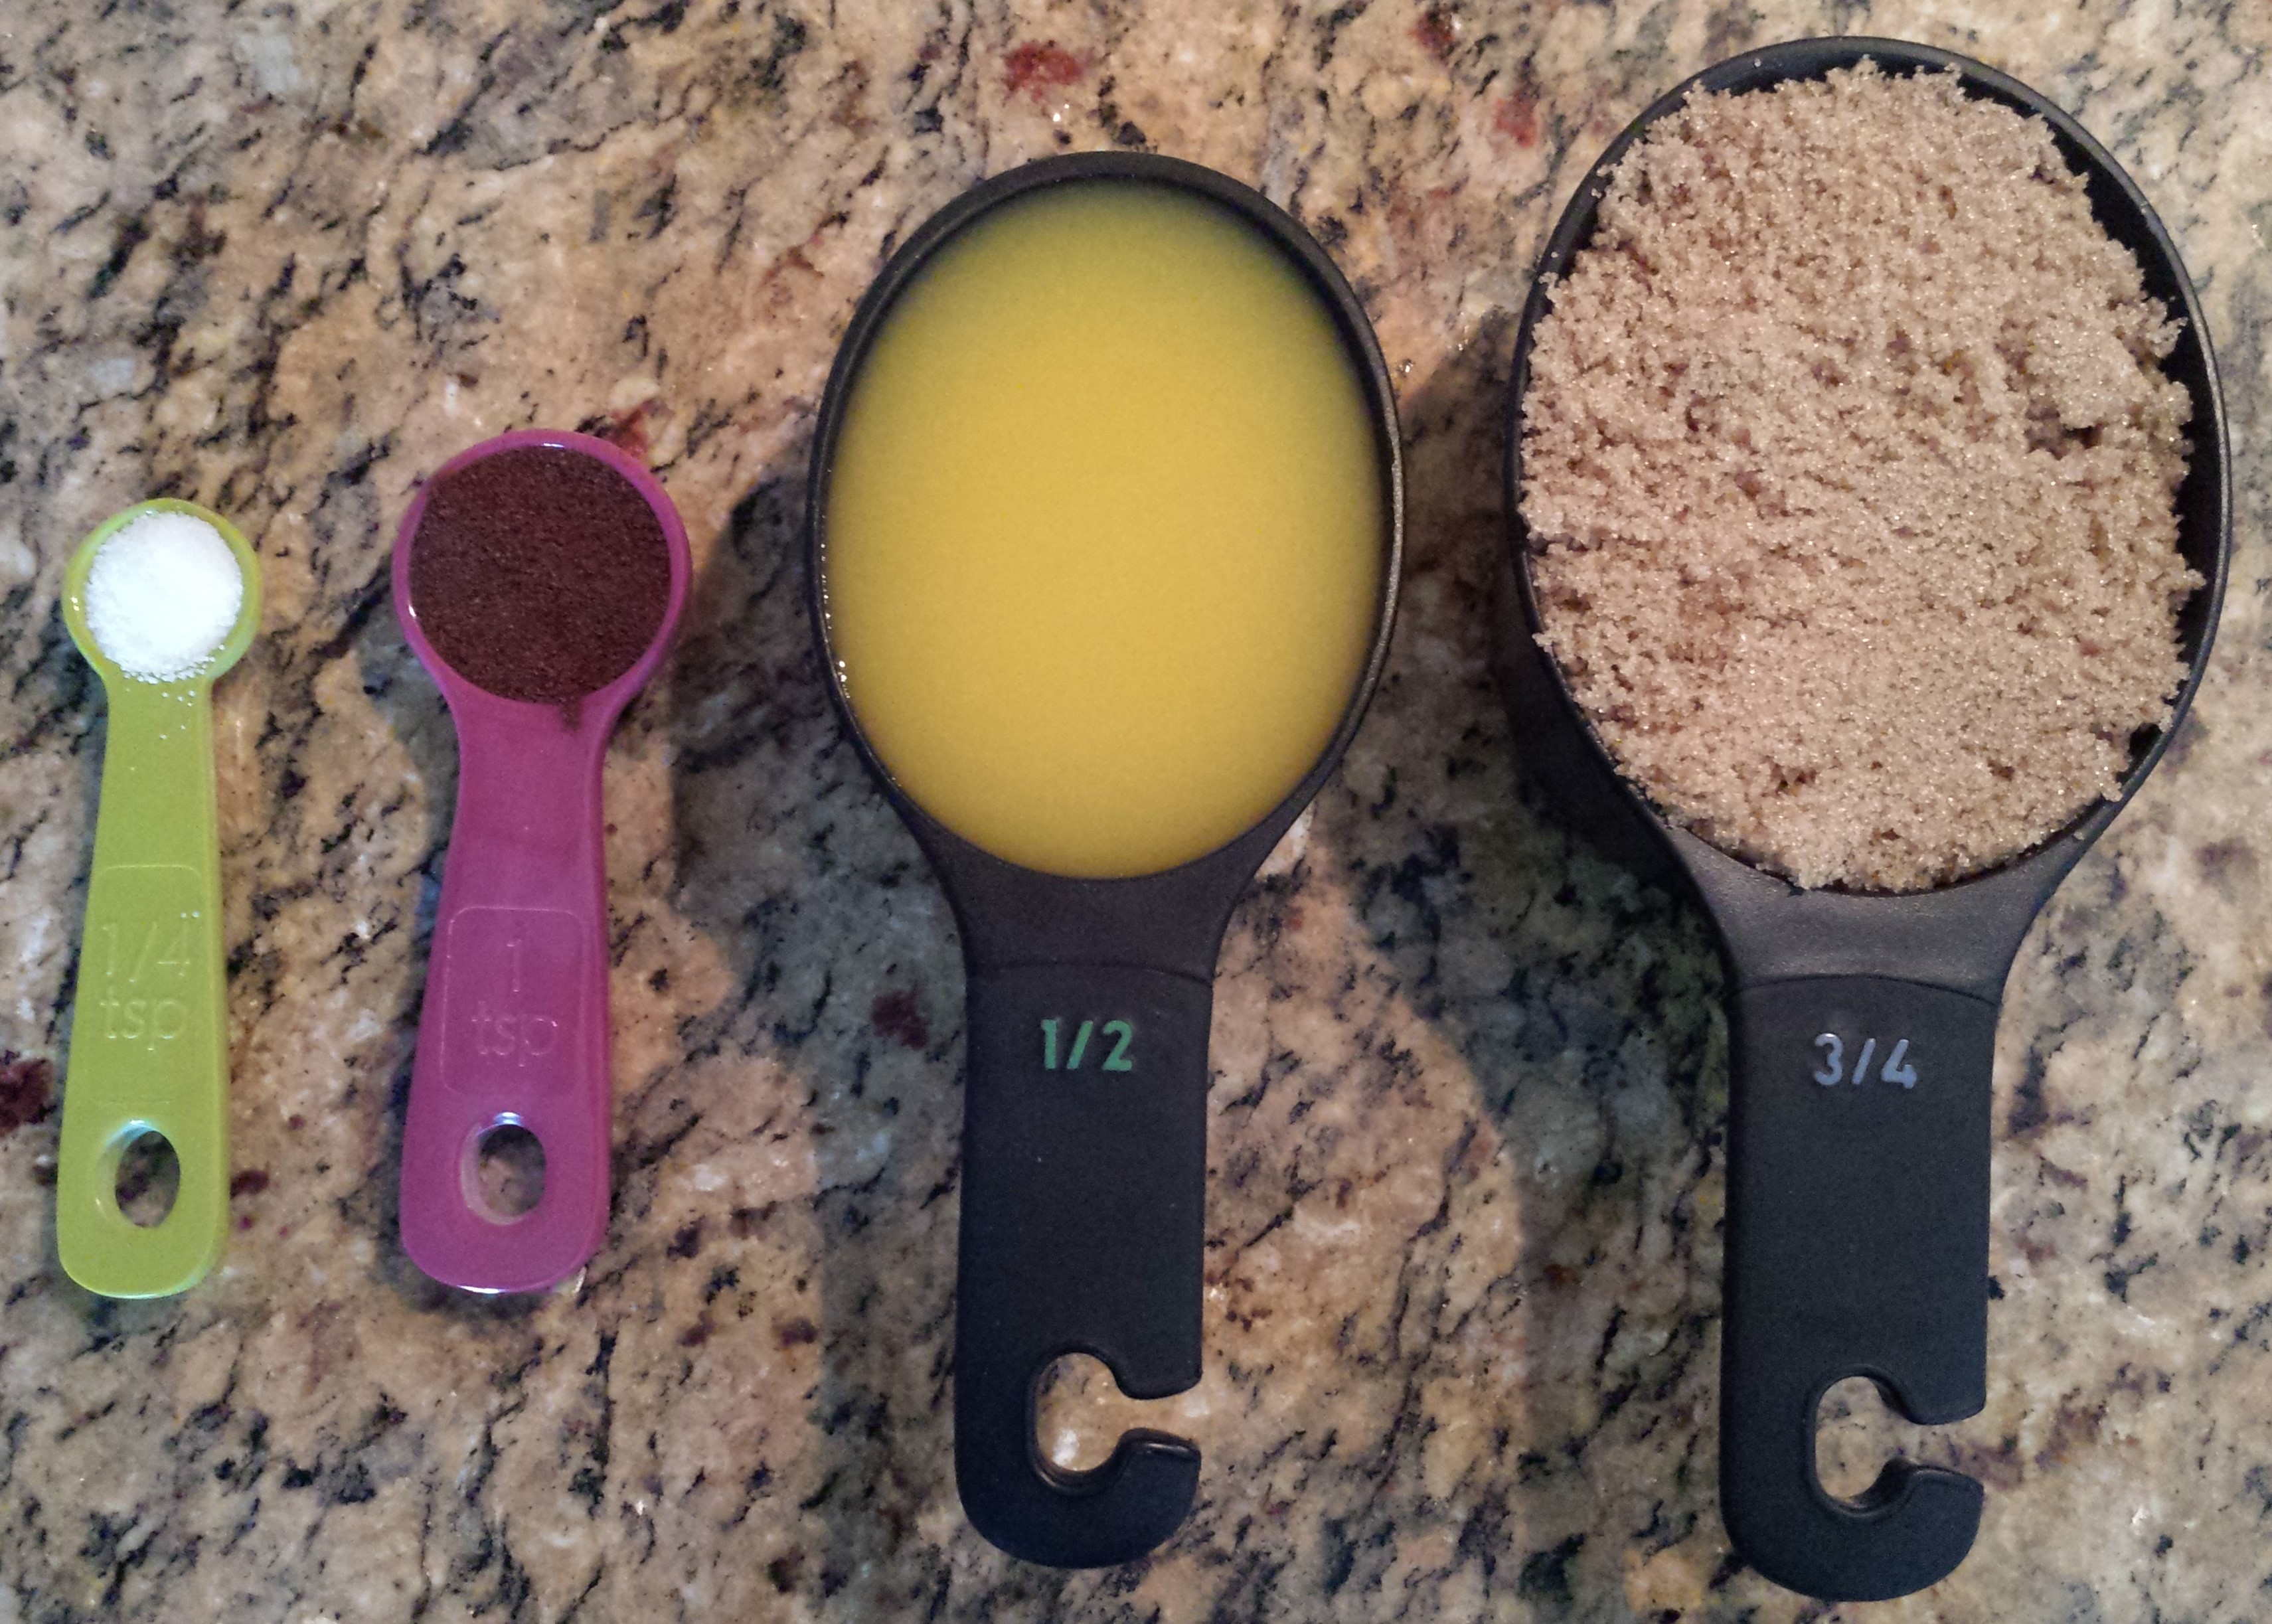
- 3/4 tsp salt
- 1 tsp baking powder
- 1/2 tsp baking soda
Filling
- 1/2 cup brown sugar
- 1-1/2 tsp cinnamon
- 6 T melted butter
Icing
- 2 c powdered sugar
- 2 T melted butter
- 2 tsp vanilla
- 4 T milk
Making the dough
In a small container, add 1/4 cup warm water (100-110 degrees F) and then the yeast. Stir until combined and set aside.
In a large bowl, add the flour and the cut up chunks of butter. With clean hands, mix together so that butter is nicely incorporated into the flour. You’ll basically have a bunch of chunky sections of flour. But don’t worry if some of the flour isn’t fully incorporated into those chunks.
Then add the yeast, sourdough starter, sugar and milk and mix with a spatula until a soft dough comes together. Cover and let sit about an hour in a warm area.
Prepping and baking
Preheat over to 360 degrees (usually 350, but with my oven, a little warmer worked better).
Put salt, baking powder and baking soda together and mix. Then sprinkle over the dough and knead until it comes together in a soft and cohesive dough. NOTE: If it’s still super sticky, add some extra flour. That’s how I got to 3-1/4 cups at the beginning, but I eyeballed that slightly so it might be a tiny bit off.
Lightly flour a surface and prepare to roll out the dough.
In a small dough, melt the butter, then add the brown sugar and cinnamon. Mix together fully.
Place dough on the prepared surface. Add a little bit of flour to the top of the dough is your rolling pin sticks to it. Do not use much as you don’t want to over flour your dough. Roll dough out so it’s a 1/4 to 1/2 inch thick rectangle – or close enough. Making a true rectangle is tricky. If you don’t mind having some smaller sized rolls from the ends, then don’t worry about it.
Spread the filling evenly over the dough. Then roll dough tightly into a jelly roll like form. With a knife, cut 1/2 inch thick pieces.
Using a metal pan (cast iron skillets work great, but I don’t have one with a flat bottom surface), add the 1.2 inch pieces to the pan. NOTE: We used a round cake pan and a disposable pie pan for giving some to friends.
Bake in pre-heated oven for ~25 minutes or until golden brown on top and bottom.
Adding the icing
NOTE: The icing recipe is for those who like a LOT of icing on their cinnamon rolls. I prefer them with more of a drizzle so didn’t even use half of it.
If you are like me, use 1 cup of powdered sugar, 1-1/2 tsp vanilla (because I like a little more vanilla flavor), 2 T milk and 1 T melted butter. Mix together and drizzle over the top of the rolls as soon as they come out of the oven.
Personal notes
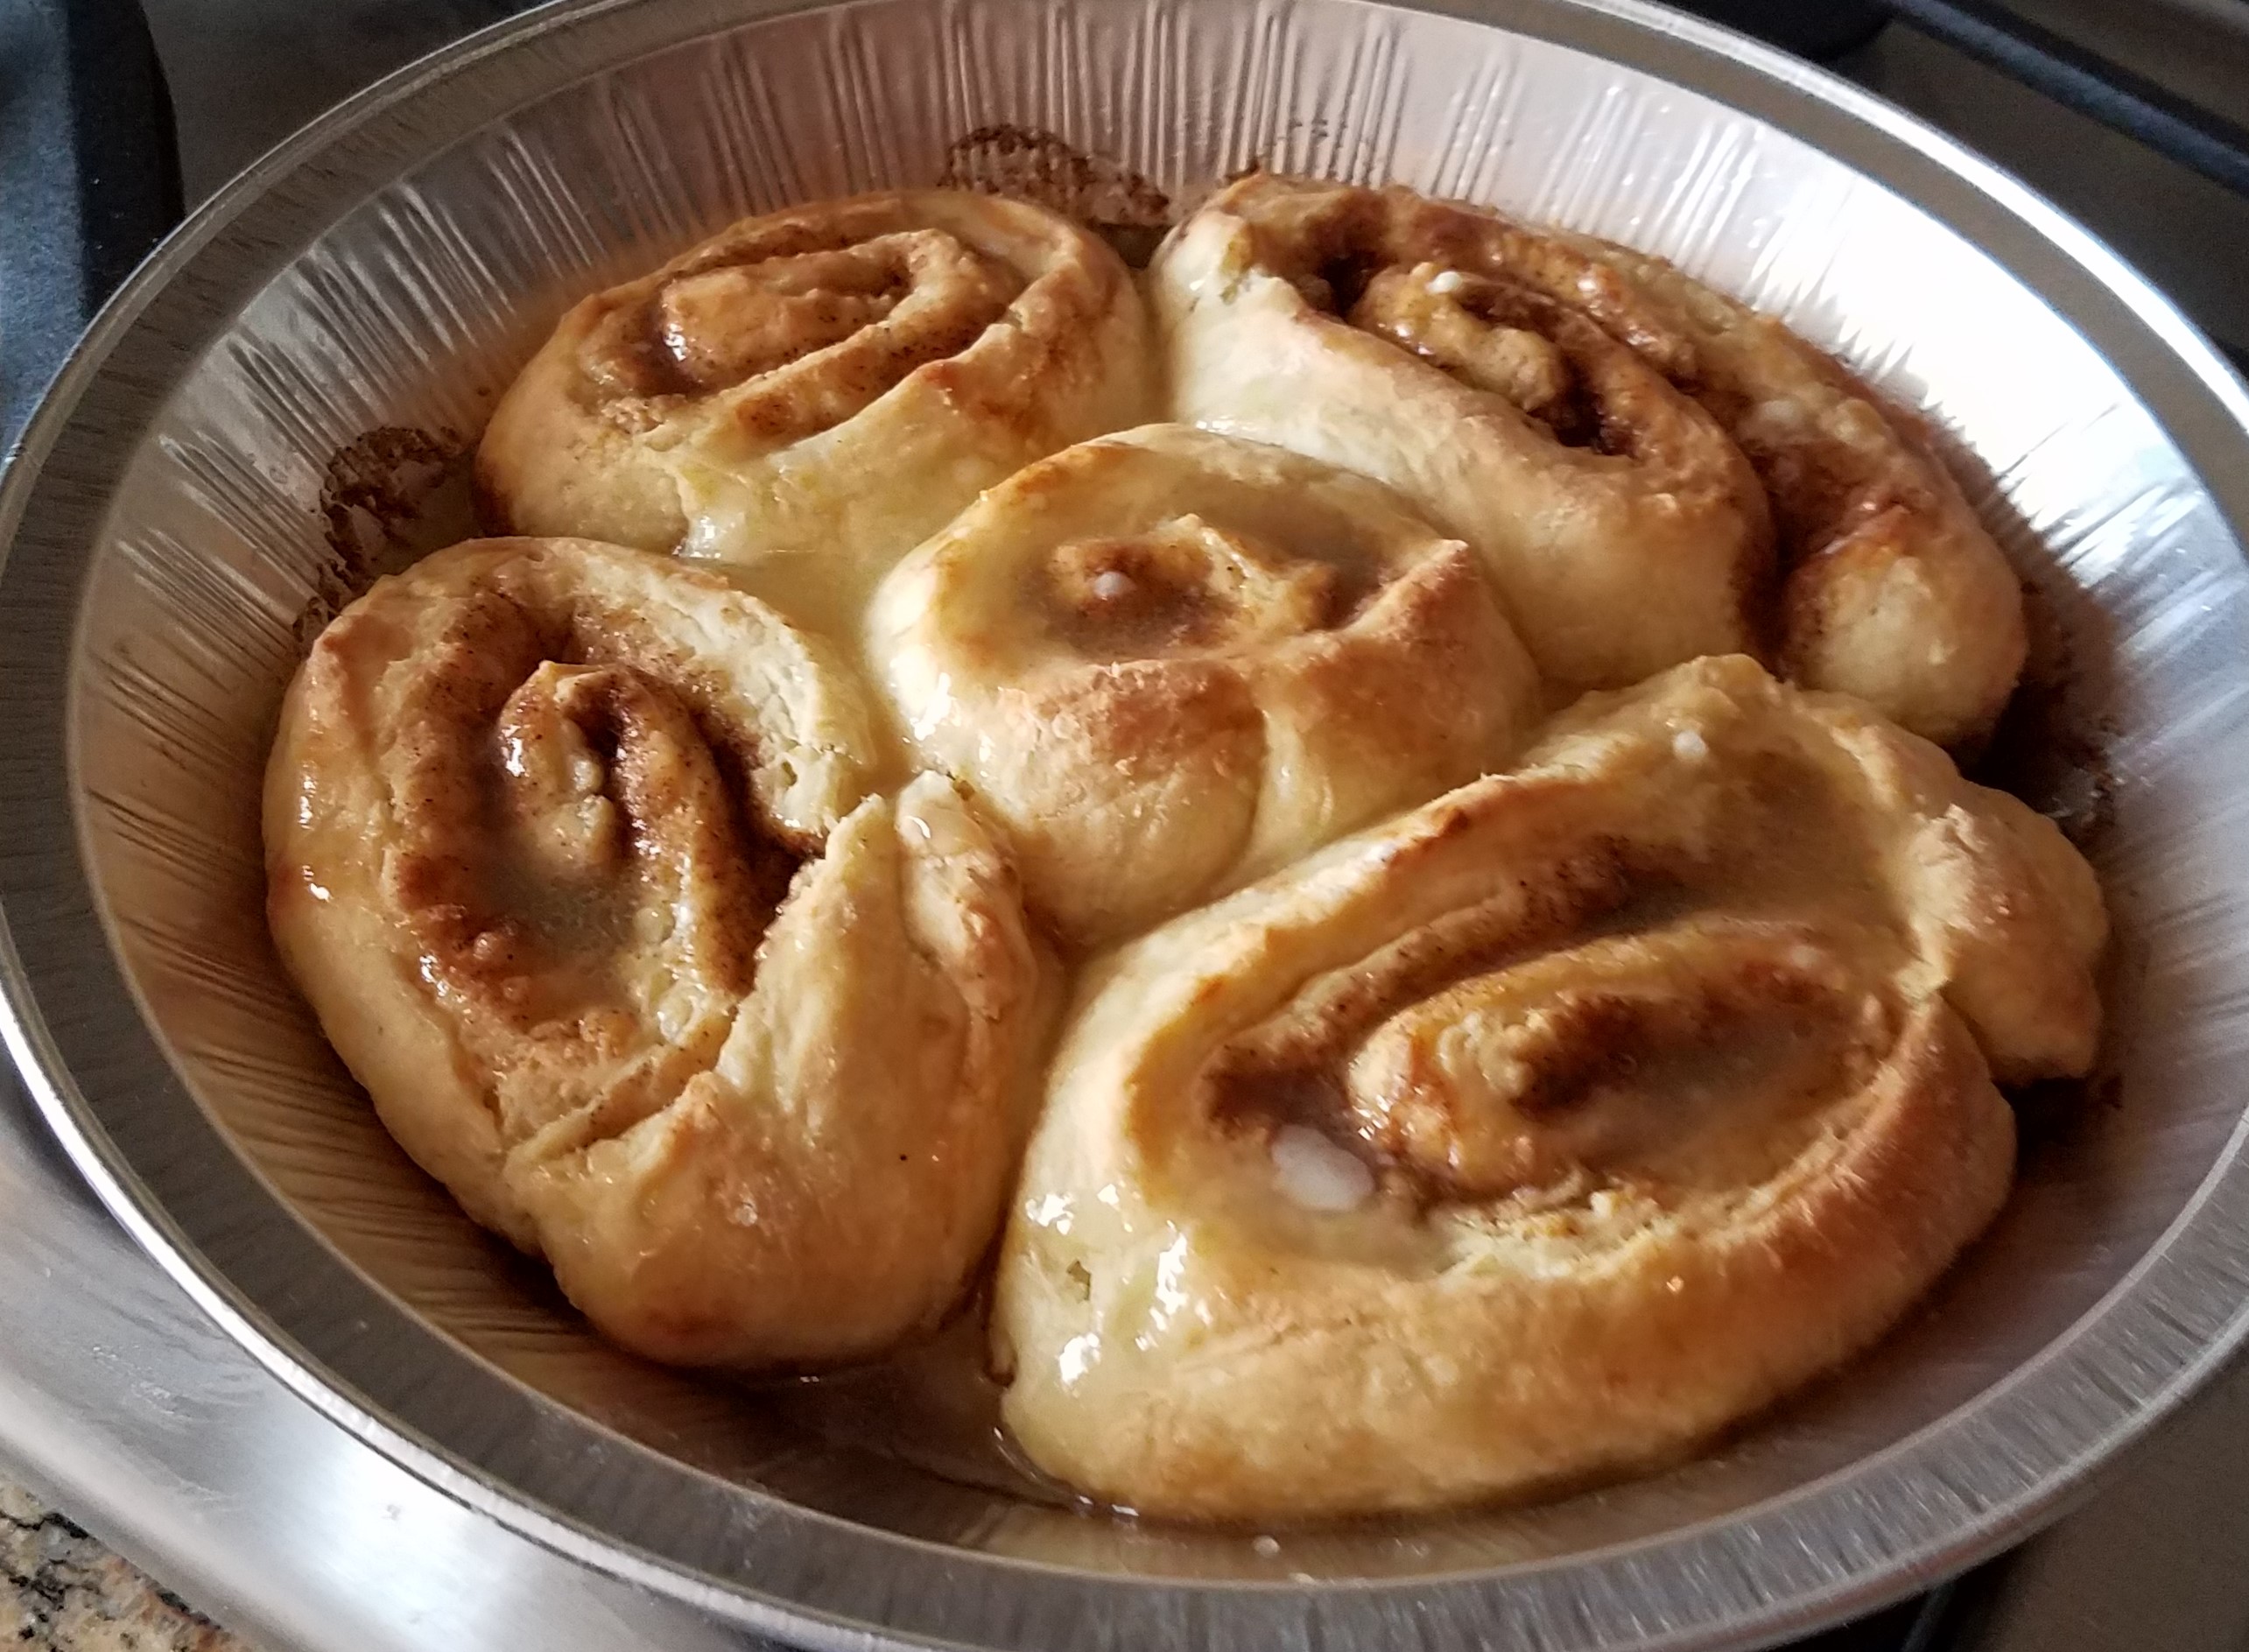
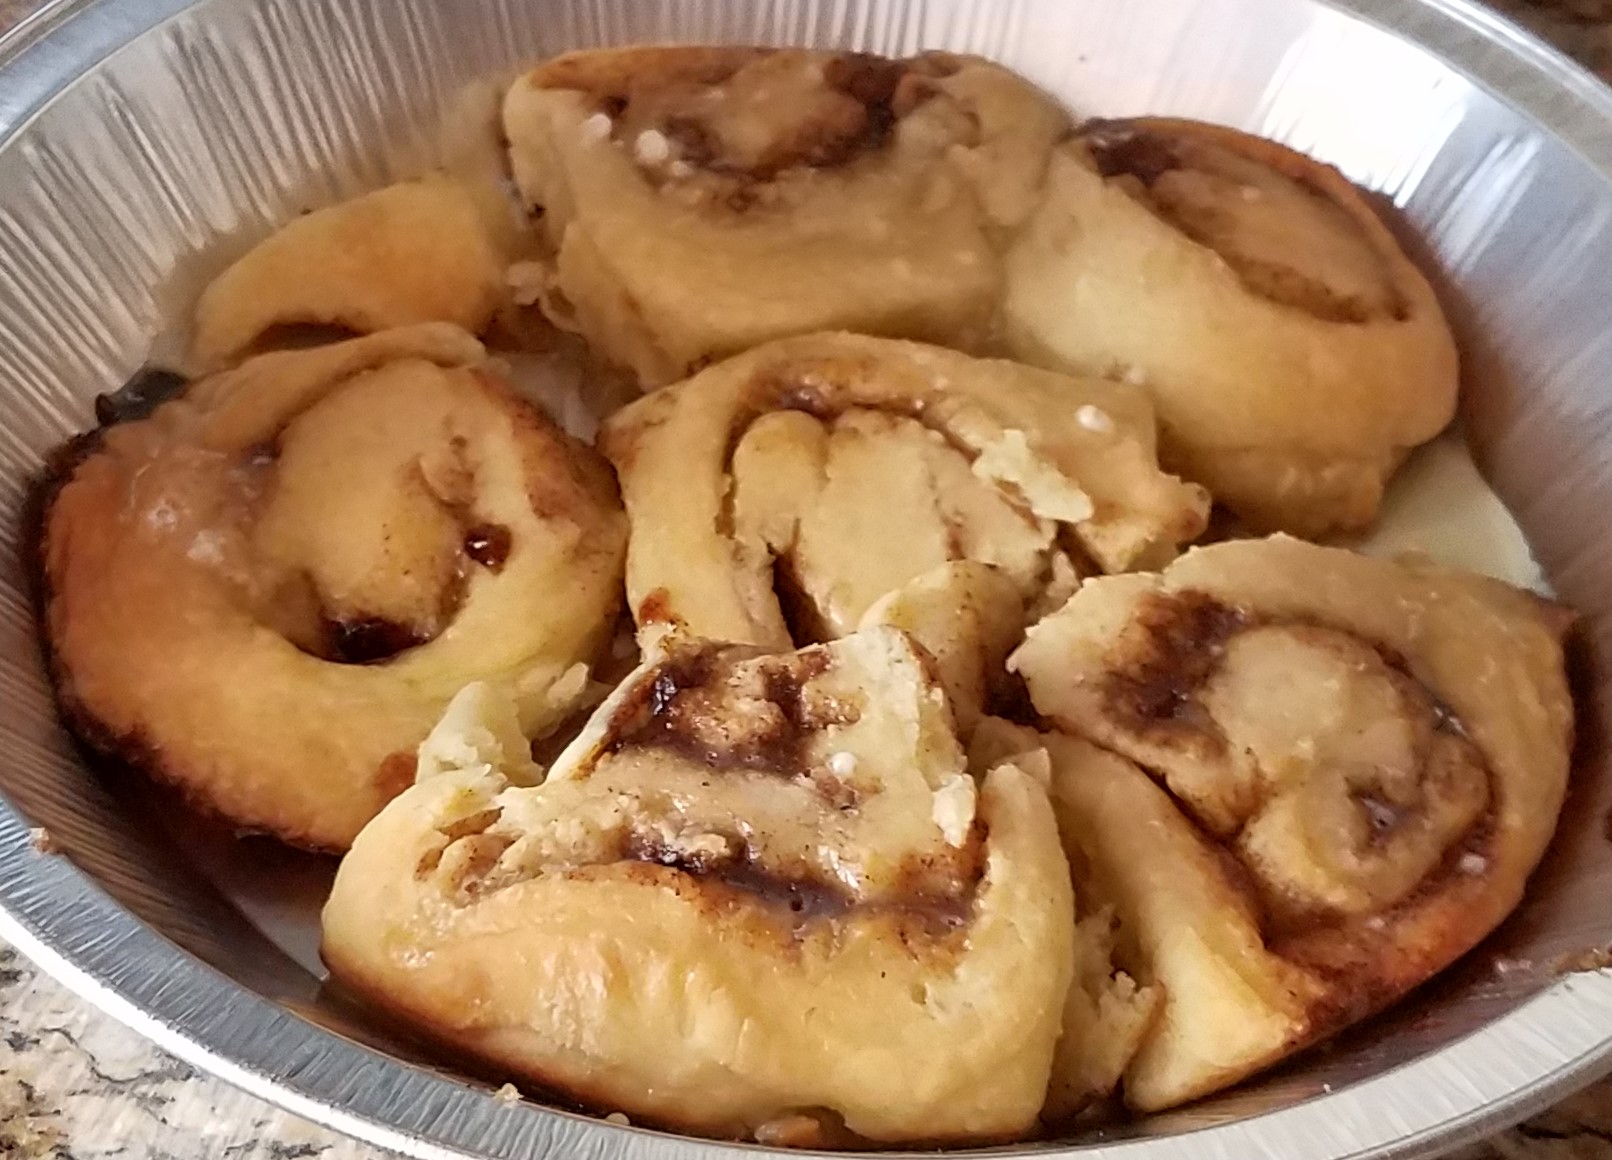
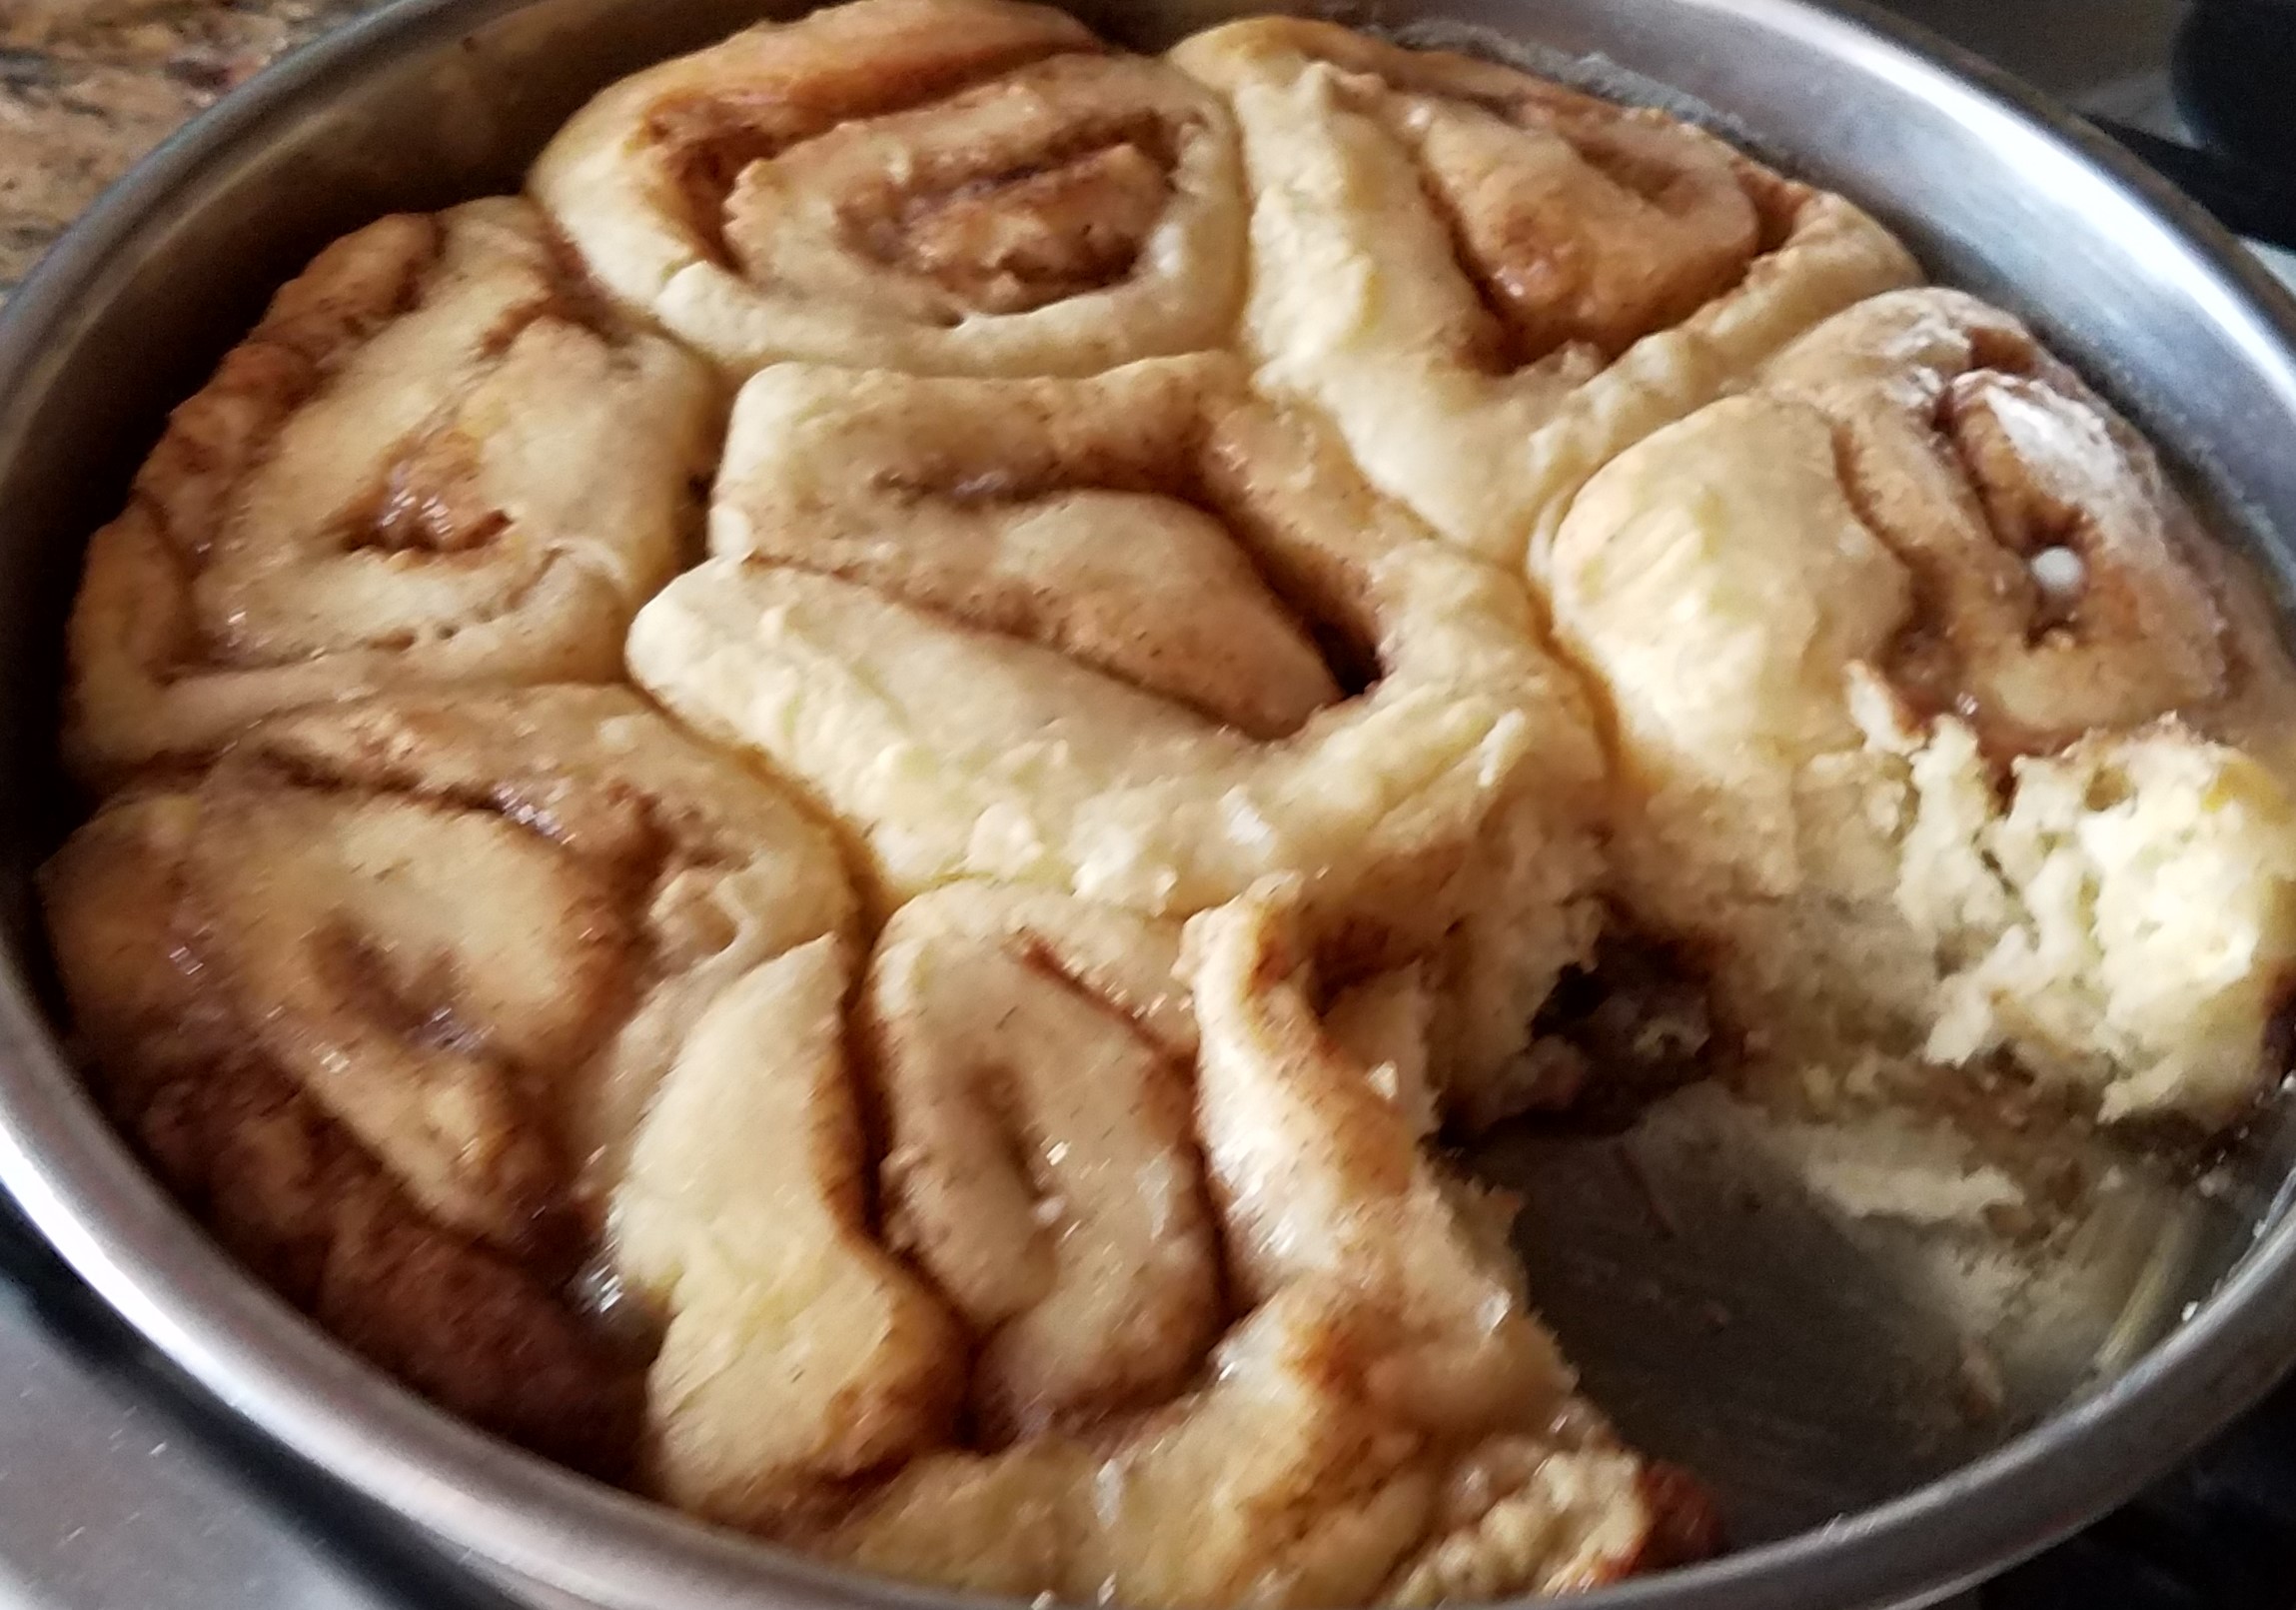
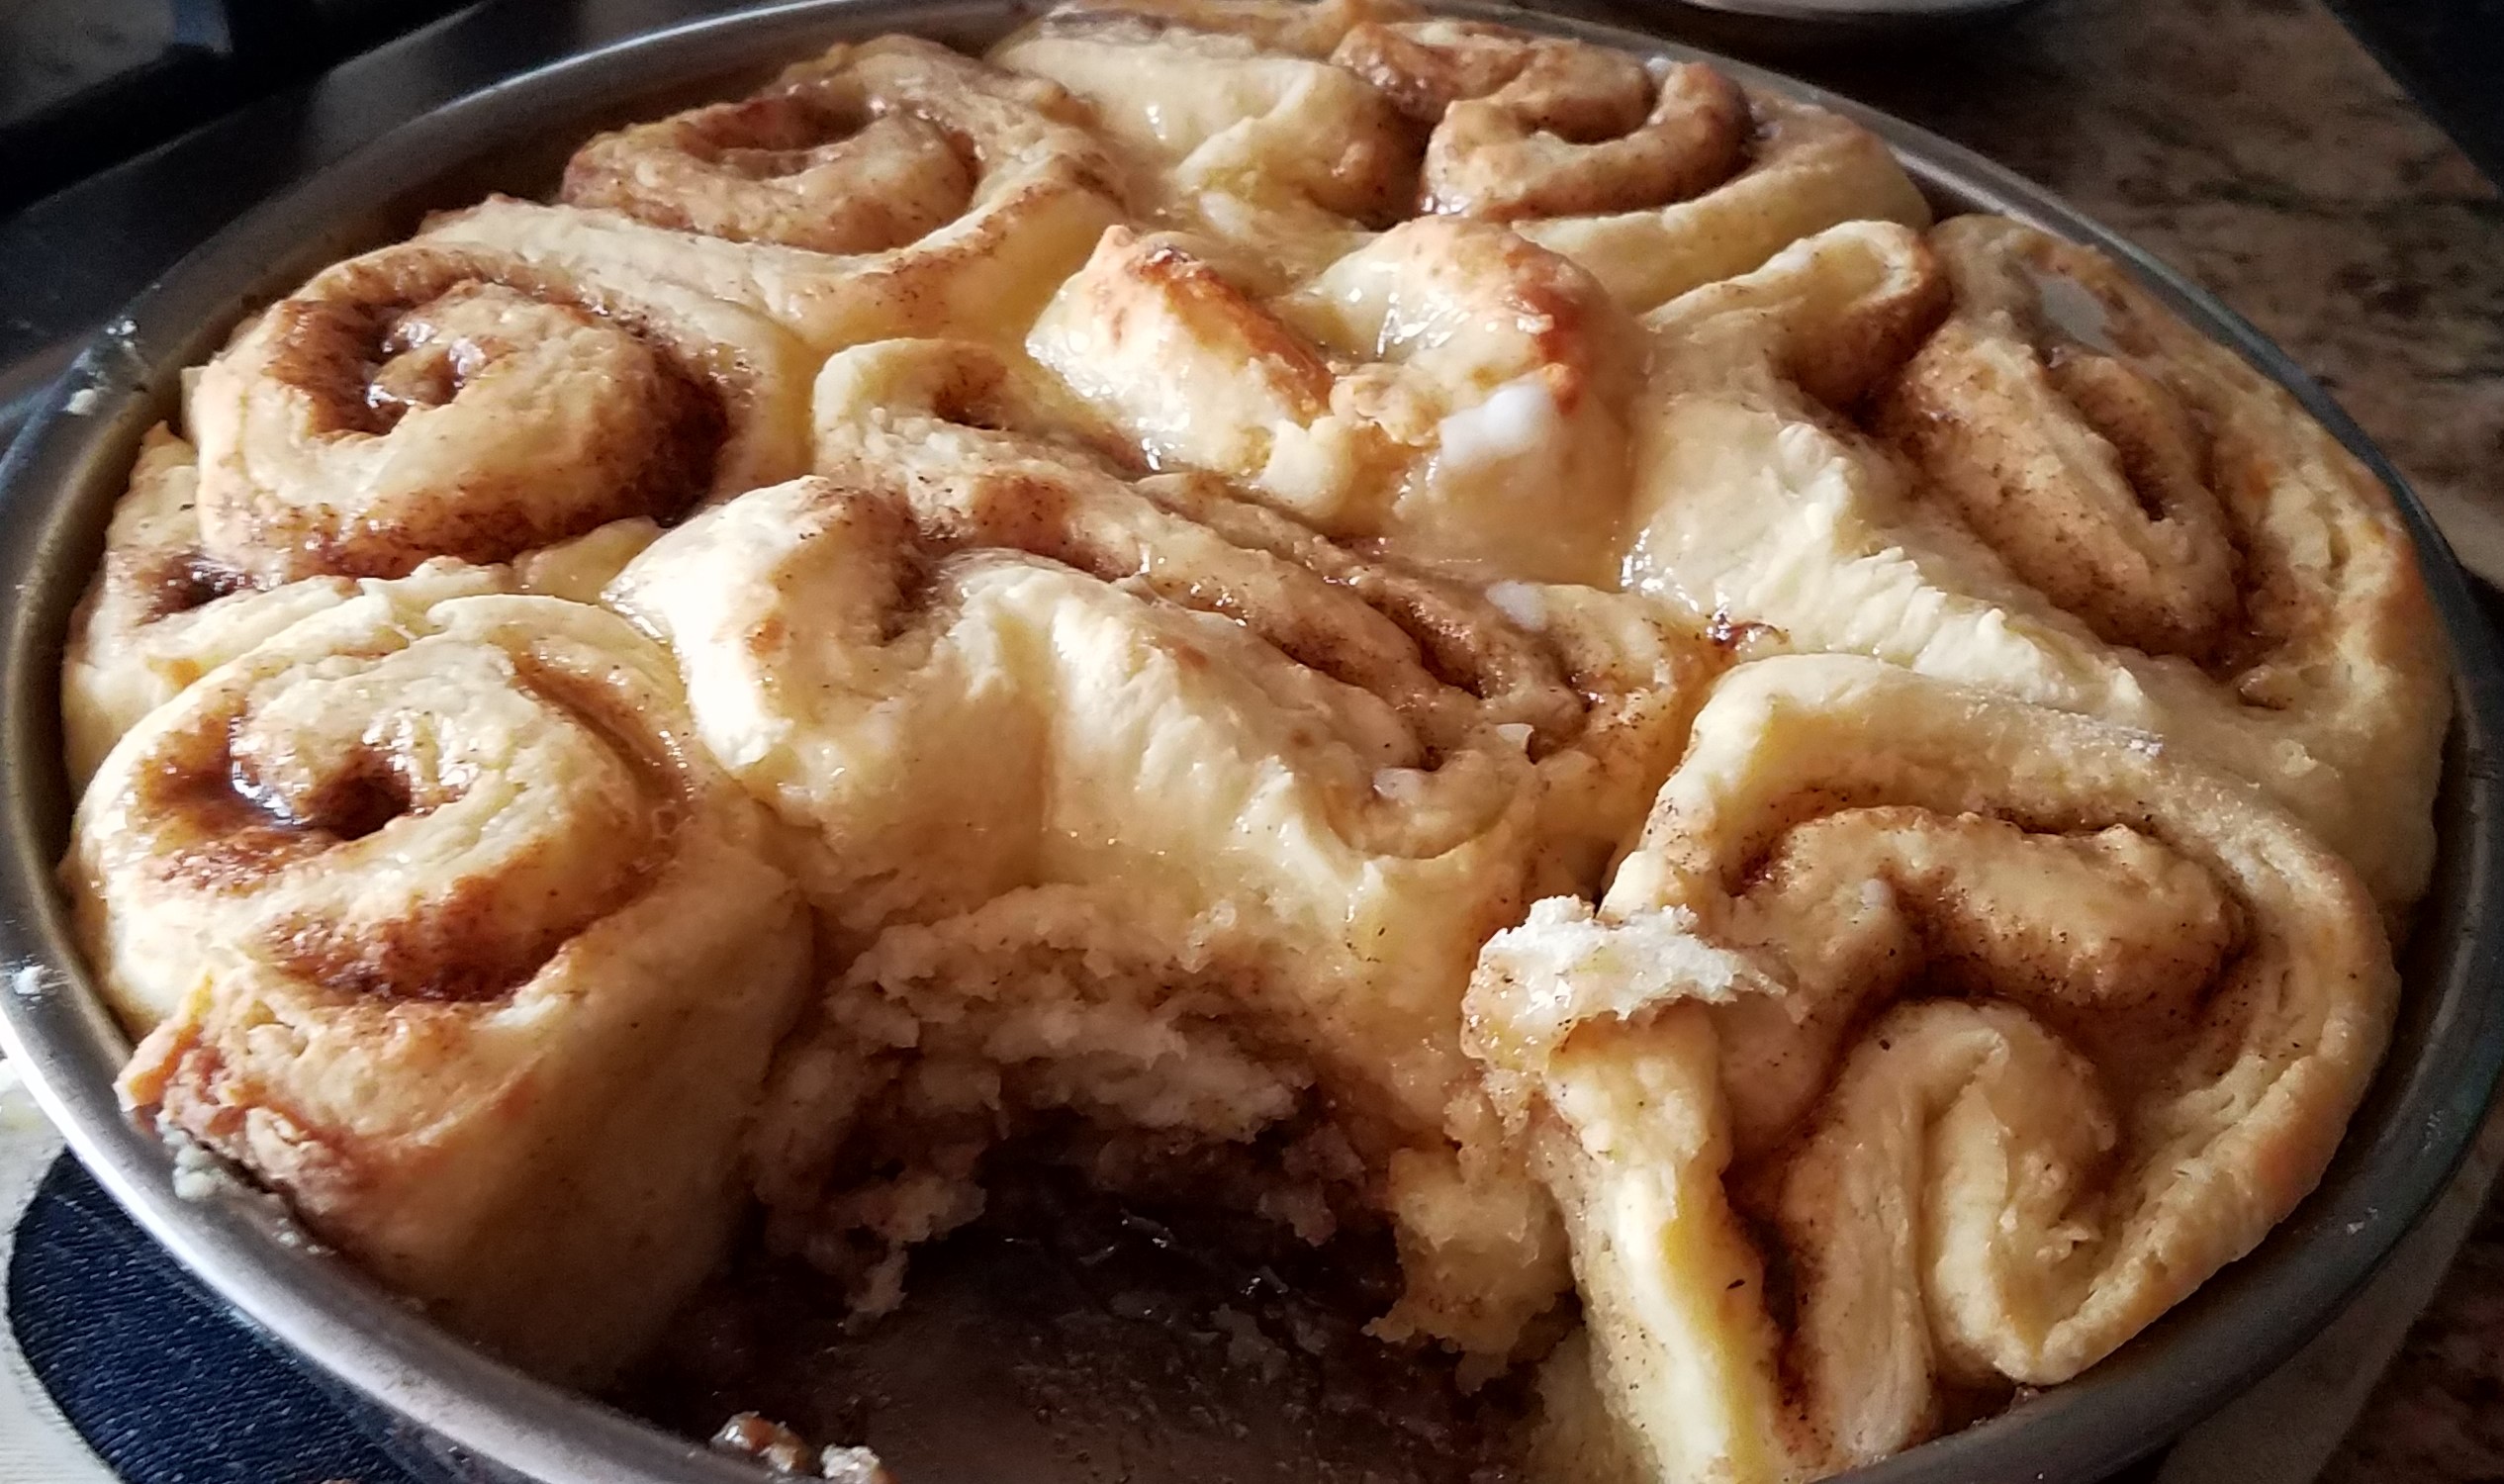
The yeast won’t make the dough rise during the hour it rested. Don’t be concerned about that. What it will do is give more of a rise in the oven. Your cinnamon rolls will be lighter in texture and taller. We taste tested side-by-side and will only make our new version of this recipe going forward. Although if you want the original we modified from, let me know and I’ll point you that way.
For your visual pleasure, here’s a side by side of the rolls with and without yeast. Notice the flatness, and the doughy look to those without yeast.